
The world of digital communication is fast-paced; capturing moments on your MacBook Air has always been challenging. Screenshots are like snapshots in the virtual realm, helping you share information, troubleshoot issues, or capture cherished memories. It doesn’t matter if you are a tech enthusiast or just a casual user; knowing how to take a screenshot is handy.
In this guide, we’ll unravel the simplicity behind capturing your screen on a MacBook Air, giving you the power to freeze any on-screen moment with just a few key presses. Let’s dive into the world of How to Take a Screenshot on Mac and make every click count!
Here is the complete Guide on Taking Screenshot on Mac
➡ Understanding the Basics
Understanding the basics is the first step when capturing what’s on your MacBook Air screen. There are two main types of screenshots: full-screen and partial screenshots. A full-screen screenshot captures everything on your display, while a partial screenshot allows you to select a specific area.
The magic lies in your keyboard shortcuts – press Command + Shift + 3 for a full screen, and for a partial screenshot, it’s Command + Shift + 4. These simple vital combinations unlock a world of possibilities, making it easy to freeze moments precisely as you want them on your MacBook Air.
➡ Taking Full-Screen Screenshots
Capturing the entirety of your MacBook Air screen is a breeze with a step-by-step guide. First, press Command + Shift + 3 simultaneously – your screen will flash, indicating success. The full-screen screenshot is automatically saved to your desktop by default.
To find it quickly, glance at your desktop, where the image appears as a thumbnail. This straightforward process ensures you don’t miss a detail when preserving your screen moments. Now, with a snapshot in hand, you’re ready to effortlessly share, document, or cherish whatever your screen offers.
Also See: How to Reset Macbook Air: A Comprehensive Guide
➡ Capturing Partial Screenshots
Capturing a specific part of your MacBook Air screen is a cinch with this step-by-step guide. Press Command + Shift + 4 simultaneously, and a crosshair cursor will materialize. This cursor empowers you to select the desired area precisely by dragging it over the screen.
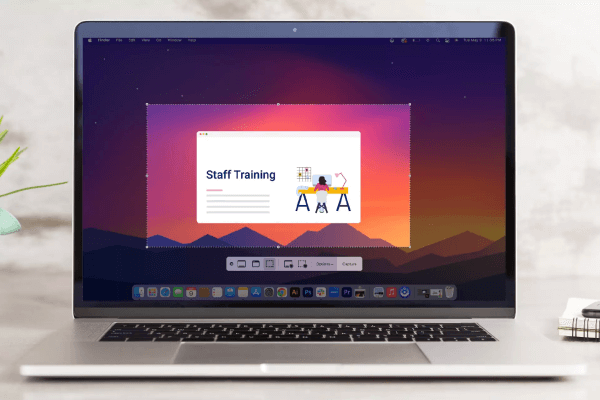
The flexibility of partial screenshots is unparalleled, enabling you to zero in on specific details like an artist honing in on a masterpiece. Whether it’s a crucial snippet of information or a captivating image, these partial screenshots allow you to capture what matters most on your MacBook Air.
➡ Utilizing Keyboard Shortcuts for Efficiency
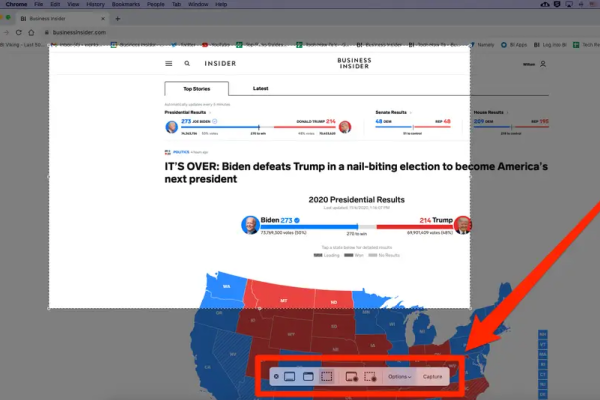
Unlocking advanced screenshot options on your MacBook Air is a game-changer with Command + Shift + 5, granting access to the screenshot toolbar. This toolbar offers many features, from capturing specific windows to recording your screen. Embracing these keyboard shortcuts isn’t just a tech-savvy flourish – it’s a shortcut to efficiency.
By swiftly maneuvering through options, you streamline the entire screenshot-taking process. The benefits are clear: speed, precision, and a tailored approach to capturing content. Embrace these shortcuts, and you’ll master the art of screenshotting, making your MacBook Air an even more powerful tool for expression and communication.
➡ Annotating Screenshots with Markup Tools
Unleash your creativity on MacBook Air by embracing Markup tools post-screenshot. Explore the possibilities of text, shapes, and annotations, turning your captures into personalized masterpieces. After taking a screenshot, open it and click the Markup icon – a treasure trove of creative options awaits.
Add witty annotations, emphasize key points with text, or draw attention with shapes. The Markup interface is your artistic playground, enhancing your screenshots with a personal touch. Elevate your communication and storytelling by exploring these intuitive tools, making your MacBook Air a canvas for information and expression.
➡ Changing Default Settings
Tailoring your MacBook Air screenshot experience is a breeze with customized settings. To change default configurations, navigate to System Preferences, then select the ‘Screenshots’ option. You can effortlessly adjust the default save location and file format to suit your preferences.
Want to capture a moment with a delay? Easy! Access the timer settings by typing Command + Shift + 5, allowing you to set the perfect moment for your screenshot. These personalized tweaks empower you to seamlessly integrate screenshotting into your workflow, ensuring every capture aligns with your individual needs and enhances your MacBook Air experience.
➡ Troubleshooting and Additional Tips
Navigating the world of screenshots on your MacBook Air can encounter a hiccup or two. If screenshots aren’t saving, check available storage or adjust permissions. For unresponsive shortcuts, reboot your system. Now, as your collection grows, organize smartly. Create folders for different projects, keeping your desktop clutter-free.
Rename files descriptively to locate them effortlessly. To avoid accidental captures, close unnecessary windows before using shortcuts. Pro tip: Use third-party apps for advanced features like cloud storage integration. Troubleshooting and organization tips ensure smooth sailing in the realm of MacBook Air screenshots, making your digital archive a well-ordered and glitch-free haven.
In conclusion, learning how to take a screenshot on Mac opens a world of possibilities. From swift full-screen captures to precise partial shots, each keystroke empowers you to freeze moments effortlessly. Leveraging advanced shortcuts and the creative prowess of Markup tools enhances your efficiency and transforms your screenshots into personalized expressions.
Customizing default settings ensures a seamless integration into your workflow while troubleshooting tips and organizational strategies keep your digital archive pristine. So, let your MacBook Air become a device and a canvas for communication, documentation, and self-expression as you capture and curate your digital world with finesse.
